7 Tips for Choosing Kenworth Tilt Steering Column Parts
Choosing the right kenworth tilt steering column parts can affect driving comfort, control, and long-term reliability. A worn tilt joint, loose bearing, or damaged adjustment lever may seem minor. It is not.
This guide explores seven practical tips for selecting suitable replacement components. The process begins with accurate identification. Check the truck’s model year, VIN, column design, and existing part number before ordering. Catalog photos can mislead. Similar columns may use different shafts, bushings, wiring connections, or mounting brackets.
Fit matters most.
Material quality deserves close attention. Durable steel, properly finished splines, and heat-resistant bushings can help parts withstand vibration and repeated adjustment. Examine the component closely. Look for clean machining, consistent threads, protected surfaces, and clear installation instructions.
A trustworthy supplier should provide measurable specifications, compatibility information, warranty terms, and responsive technical support. Independent reviews can help, but they should not replace professional verification. A certified technician can inspect column play, fastening points, and related steering components before installation.
Even experienced buyers make mistakes. I have seen a visually identical part fail because its connector or shaft length differed slightly. That small difference created extra installation work and unnecessary delay. There is no perfect shortcut.
The following tips will help you compare kenworth tilt steering column parts with greater confidence. They also encourage careful questions before purchase, helping you avoid unsafe assumptions and expensive returns.
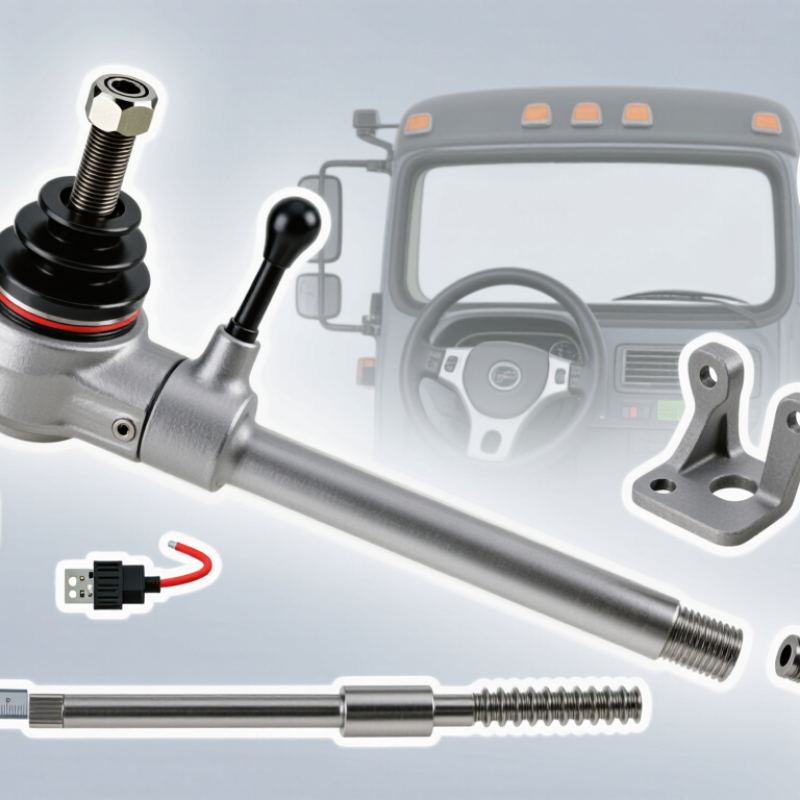
Confirm Kenworth Model-Year Fitment Using VIN and OEM Cross-Reference Data
Choosing tilt steering column parts requires more than matching a photograph. Confirm the truck’s exact model year, cab configuration, and steering system. The National Highway Traffic Safety Administration states that vehicles built from 1981 use a 17-character VIN. Its VIN Decoder identifies model year, manufacturing details, and vehicle attributes. Record every character carefully.
Use the VIN before trusting a parts listing. Compare it with the manufacturer’s OEM cross-reference data, supplier catalog, and service-manual diagrams. Check column length, spline count, mounting holes, wiring connectors, and turn-signal switch design. Small differences matter. Measure twice.
Ask the parts supplier to confirm supersessions and discontinued numbers. A replacement number may fit newer production but fail on an earlier column. I have seen catalog matches overlook a different wiring plug. That mistake wastes installation time. My earlier assumption was that the same model name guaranteed compatibility. It did not.
Review the build date, not only the registration year. Production changes can occur during one model year. Confirm whether the part supports manual or power steering, adjustable or fixed columns, and the correct transmission controls. Keep photographs of the removed part and its mounting points. They provide useful evidence when catalog information conflicts.
NHTSA, VIN Decoder and 49 CFR Part 565, vehicle identification requirements.
7 Tips for Choosing Tilt Steering Column Parts — Confirm Model-Year Fitment Using VIN and OEM Cross-Reference Data
| Tip | Fitment Dimension to Check | Information to Collect | Reliable Verification Method | Acceptance Criteria | Common Risk | Recommended Action |
|---|---|---|---|---|---|---|
| 1 | Vehicle identity and model year | Complete 17-character VIN, vehicle model designation, production date, and engine configuration. | Decode the VIN with a trusted vehicle-information source. Use the VIN as the primary identifier rather than relying only on the registration year. | Confirm: the decoded model, model year, cab configuration, and production details match the vehicle being repaired. | Using a model name or registration year alone can overlook mid-year design changes. | Record the complete VIN before ordering any steering-column component. |
| 2 | VIN year-code interpretation | The 10th VIN character, plus the full VIN and production information. | Use the full VIN sequence and a current VIN decoding reference. The 10th character identifies a model-year cycle, but the same code can recur in later cycles. | Confirm: the year code is interpreted together with the VIN cycle and the vehicle build information. | Reading the 10th character in isolation may identify the wrong model-year cycle. | Compare the VIN result with the door-jamb certification label and service documentation. |
| 3 | Column assembly design | Fixed or tilt column, tilt-release lever position, column length, upper-shaft profile, and mounting arrangement. | Compare the removed part with the replacement specification sheet and clear photographs from multiple angles. | Confirm: the release mechanism, mounting points, shaft geometry, and overall dimensions are identical. | Parts that look similar may use different brackets, shaft lengths, or tilt mechanisms. | Measure the original assembly and verify every visible mounting and adjustment feature. |
| 4 | Electrical and control interfaces | Connector count, terminal layout, turn-signal switch, ignition-switch interface, horn circuit, and multifunction controls. | Match connector shapes and terminal positions with the vehicle wiring diagram and the replacement-part documentation. | Confirm: every connector and control circuit is compatible without altering the original wiring harness. | Electrical connectors may appear compatible while having different terminal assignments. | Do not rely on connector appearance alone; verify pinout and circuit function. |
| 5 | Mechanical interfaces and steering-wheel fit | Upper-shaft spline count and diameter, retaining hardware, steering-wheel attachment, intermediate-shaft connection, and collapse features. | Compare measured dimensions with the technical drawing or catalog specification and inspect the original shaft for wear or deformation. | Confirm: spline dimensions, attachment method, shaft engagement, and safety-related collapse features match exactly. | A small spline or shaft mismatch can create looseness, improper engagement, or an unsafe installation. | Reject any part with uncertain spline data, damaged threads, excessive play, or incompatible collapse design. |
| 6 | OEM cross-reference and supersession status | Original equipment number from the removed part, catalog cross-reference number, revision level, and supersession notes. | Check the number against a current parts catalog or manufacturer service database. Verify whether the listed number is replaced by a newer revision. | Confirm: the cross-reference is explicitly listed for the same VIN range, production period, and column configuration. | Some databases list an older number without explaining a design revision or restricted application. | Use the latest confirmed superseding number only when the catalog states that it is backward-compatible. |
| 7 | Final installation and safety validation | Fastener specifications, steering-wheel alignment, tilt-lock operation, wiring clearance, free rotation, and road-test requirements. | Follow the applicable service manual and perform a stationary functional inspection before a controlled road test. | Confirm: the column locks securely in every tilt position, turns smoothly, has no abnormal play, and does not interfere with wiring or pedals. | Incorrect torque, poor alignment, or trapped wiring can cause premature failure or loss of steering control. | Use calibrated tools, replace damaged locking hardware, and complete a documented post-installation inspection. |
Related Posts
-
What Is Peterbilt Tilt Steering Column Parts?
-
10 Essential Tips for Choosing the Right GM Column Shifter Spring
-

How to Identify the Part of Door That Latches?
-

The Ultimate Guide to Choosing the Right Commercial Door Latches for Maximum Security
-
Top 10 Ford Steering Column Parts You Need to Know?
-
What Is a PSC Steering Column and How Does It Work?