7 Tips for Choosing Welding Positioners
Choosing the right Welding Positioners can improve access, stabilize the workpiece, and reduce awkward repositioning. The best choice depends on more than rated capacity. Part shape, center of gravity, rotation range, speed control, and available floor space all matter. A compact unit may suit small fixtures, while a heavy assembly needs dependable support and controlled movement. Details count.
As welding engineer and educator Alex Mercer puts it: “A positioner should bring the joint into a comfortable welding zone, not just spin the part.” This is an original illustrative quote, not a verified statement from a real, named expert. For a real purchase, verify every specification with the manufacturer and consider a trial using a representative workpiece. A brochure cannot reveal every awkward balance point.
This guide outlines seven practical checks, from load capacity and tilt range to controls, safety features, maintenance, and service support. Picture a long steel frame turning above a crowded shop floor: a small balance error can affect smooth rotation and access. Ask how the unit behaves with your actual fixture, cables, and workpiece—not only under ideal conditions. Then compare options against daily tasks and operator experience. Some shops may find the decision less tidy than the checklist suggests. That is worth acknowledging. A positioner can improve consistency, but it cannot compensate for a poorly planned weld sequence or unsuitable tooling. Check the details before committing.
Define the Welding Tasks and Positioning Requirements
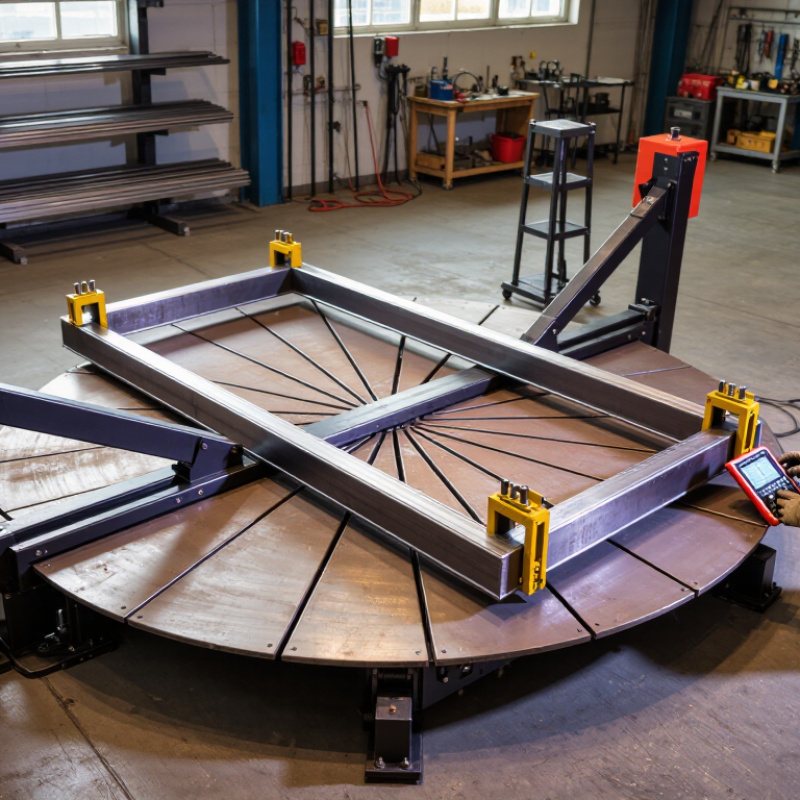
Before comparing welding positioners, define the parts, welds, and production conditions they must handle. Record each workpiece’s maximum weight, dimensions, center of gravity, and clamping points. A long frame may fit the table but still swing unevenly when rotated. Note every weld angle and whether operators need continuous rotation, fixed indexing, or simple tilting. Be specific.
Also describe the welding process, expected arc time, loading frequency, and available floor space. These details affect payload, rotation speed, motor duty, and fixture design. The American Welding Society’s 2020 workforce report projected that the United States would need 360,000 welding professionals by 2027. That figure does not measure positioner performance, but it highlights why practical workflow and operator access deserve attention. A positioner that reduces awkward reaches may support a more repeatable process, but only if its movement matches the actual weld sequence.
Check how the part will be loaded and secured, including the weight of fixtures and clamps. Ask whether cables, torches, or nearby equipment could interfere through a full rotation. Do not guess. A small sample setup can reveal clearance problems that drawings miss. One detail is easy to overlook: production plans change, so leave room for future part sizes or heavier fixtures. Still, avoid buying capacity you cannot use; excess size can consume floor space and complicate handling.
Match Positioner Capacity to Workpiece Size and Weight
Tip: Compare the positioner’s rated capacity with the total rotating load, not just the workpiece. Include fixtures, clamps, and any backing bars. A 300-kilogram assembly may exceed the rating once its tooling is added. Leave a practical margin rather than selecting a unit that barely meets the calculation.
Tip: Check the workpiece dimensions and center of gravity alongside its weight. A long frame can create more leverage than a compact part of equal mass. Confirm the positioner’s allowable load at the planned tilt and rotation speed. Maximum capacity may apply only under specific conditions. Check twice.
Tip: Before choosing equipment, sketch the part on the table and note where its weight sits. Consider table diameter, clearance, and whether the load can be secured without awkward overhang. A frequent oversight is treating the capacity label as a complete answer. It is only one part of the match. Review the manufacturer’s operating guidance, and ask a qualified supplier when the load is unusually long or uneven. In a busy shop, it is tempting to estimate by eye. That shortcut can miss an off-center load, so write down the actual figures and revisit them.
7 Tips for Choosing Welding Positioners: Match Capacity to Workpiece Size and Weight
Compare example steel workpiece weights with preliminary positioner capacity targets.
Example weights are calculated for solid steel blanks using a density of 7,850 kg/m³. Capacity targets are rounded up to at least 1.5 times the blank weight for preliminary comparison. This simple check does not account for offset centers of gravity, clamping fixtures, or torque limits; verify the complete load and operating conditions against the positioner manufacturer’s ratings.
Choose Suitable Rotation, Tilt, and Speed Ranges
Tip: Match rotation range to the weld path. A positioner that turns continuously can keep a long seam accessible, while indexed rotation may suit repeated joints. Check the workpiece’s centre of gravity and fixture clearance at every angle. A catalog’s maximum load is not the whole story; an off-centre part can place very different demands on the table.
Tip: Choose tilt around the actual joint. ISO 6947:2019 defines standard welding positions, including flat, horizontal, vertical, and overhead. Use those positions as a practical reference, then test whether the torch can reach the joint without awkward wrist or shoulder angles. For a heavy assembly, confirm the rated load at the planned tilt—not only at zero degrees. I have seen “enough tilt” look fine on paper and fail once clamps are fitted.
Tip: Set speed for control, not just cycle time. Slow, steady rotation helps maintain arc distance on thin sections; faster movement may suit robust, repeatable work. AWS’s 2023 workforce estimate projected 360,000 welding professionals would be needed by 2027, underscoring the value of reliable, repeatable setups. Still, automation cannot fix a poor fixture. Trial the intended part, record usable speed and angle settings, and leave room for operator adjustment.
Evaluate Controls, Power Options, and Safety Features
A welding positioner should turn a heavy workpiece smoothly, without making the operator fight the controls. Test the pendant with gloves on. Can you adjust rotation speed while keeping your eyes on the weld? Check that the emergency stop is easy to reach, and that restarting after a power interruption requires deliberate action. Small control details matter.
Match the power source to the work. Electric drives can suit steady, repeatable rotation; hydraulic systems may be useful for heavier loads, but need checks for leaks and pressure loss. Confirm the rated load includes fixtures and off-center pieces, not just the part’s weight. Ask how speed behaves near the minimum setting. A jumpy start can spoil a pass. No system is perfect.
Safety deserves more than a checklist. The U.S. Bureau of Labor Statistics reported 2.6 million nonfatal workplace injuries and illnesses in private industry for 2023; this figure is not specific to welding or positioners. Still, it is a reason to inspect guarding, cables, foot controls, and pinch points before purchase. Watch a loaded unit rotate through a full cycle, and listen for unusual vibration. I would also ask operators what feels awkward after a full shift. That feedback is easy to overlook.
Compare Setup, Maintenance, and Long-Term Costs
Welding positioners can reduce handling time, but the purchase price tells only part of the story. Compare how each unit fits your work: a compact table may suit small brackets, while larger frames need enough capacity and a stable footprint. Check rated capacity at the actual center of gravity, not just the workpiece’s total weight. Confirm that clamps, fixtures, cables, and controls fit your existing cell. A trial with a typical assembly can reveal awkward loading or poor access. Small details matter.
Setup costs include installation, operator training, and electrical or fixture changes. Ask how often the unit needs lubrication, inspection, or adjustment, and whether routine service can be done in-house. Look for clear maintenance intervals and accessible wear parts. Downtime has a cost. Estimate it using your real production schedule, not an ideal one. Over several years, energy use, repairs, fixture changes, and lost production may outweigh a lower initial price. Keep the comparison grounded in your workload; estimates are imperfect, and actual repair needs can surprise you. A positioner that is easy to maintain and quick to set up may offer better value, even with a higher upfront cost.